
Lumber is imperfect. Unlike the steel and metal once used to build old cars, Lumber's shape and characteristics change dynamically with moisture, temperature, and pressure. Generally speaking, these changes usually result in small, minimally noticeable, defects that don't impact a project's outcome. Such defects do, however, become increasingly important when they occur in a finishing material. In a nutshell, a slightly bowed stud usually doesn't present a problem, but bowing of a trim board or twisting of highly visible design element (such as a timber beam) cannot go unaddressed. In these circumstances, the builder must either re-mill his lumber or "persuade" it into the proper position. During this phase of my project, I found myself doing much of the latter.
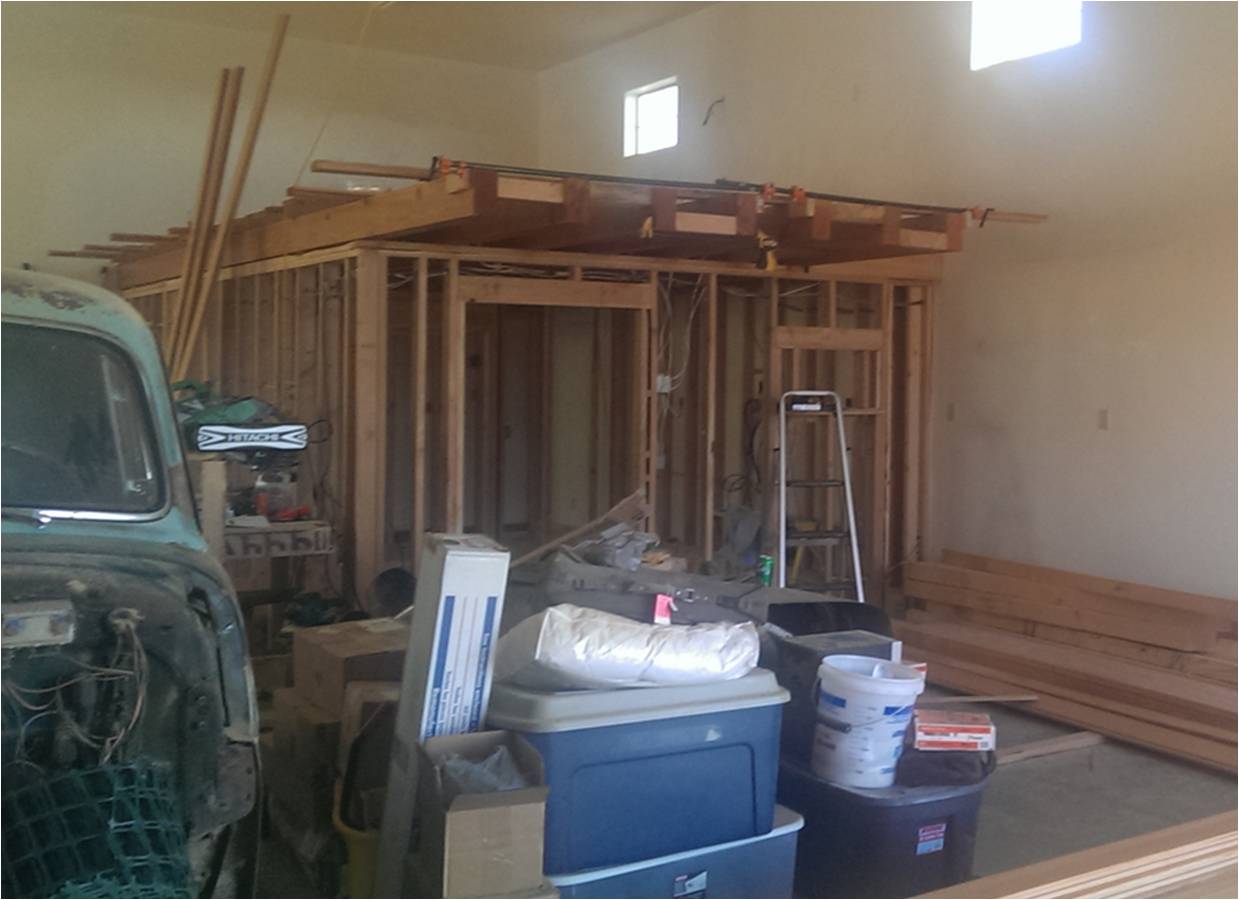
The first issue that required my attention was some twisting in a few of the large beams. As you can see below, beams #4 & 7 had significant twisting along their long axis that began somewhere around the mid point of the beam. This is problematic for 2 reasons: First, the twisting creates an uneven surface for attaching the decking and second, it just doesn't look sexy. Solution? Brute force persuasion.
 |
| Twisted beams. (sorry for the poor photo angle, I forgot to take a picture before I corrected the twist so I had to search old photos I had already taken and this was the best I could find). |
Now, I wish I could tell you I am a big enough hulk that I was able to just grab the end of each twisted beam and will the beam into submission, but I barely have enough strength in my hands to unwrap a candy bar...so obviously, the solution here would involve some physics.
 |
| I have no idea who this is, but if I were a hulk, this is what I'd look like (on a good day) |
With the aid of several pipe clamps, the beams were persuaded back into a square position. As you see below, blocks were inserted between each beam to ensure that I didn't pull the other beams out of square as I cranked down on the clamps.

With the beams square, I could now proceed with the remainder of my decking installation (the logic here being that once all the decking was installed, the combination of glue, decking screws, and nails would provide sufficient holding power to keep the beams square once the clamps were removed.
The decking I purchased is beautiful...2 x 6 vertical grain Douglas fir, square-edged tongue and groove decking. Here's a close up photo of the vertical grain pattern to which I am referring:
 |
| Vertical Grain Pattern (commonly referred to as "quarter sawn") |
Contrast this grain pattern with a with a more traditional plain sawn board:

Below is an illustration of the milling processes used to yield these two distinctive grain patterns:

The
vertical grain pattern is not only beautiful, but also structurally
superior and more resistant to drying defects than plain sawn lumber. This is because the annular rings (i.e.
the lines that produce the grain pattern) tend to shrink over time as
the board loses moisture. In plain sawn boards, the rings span the
width of the board (seen best in cross section below) and often produce a
"cupping" phenomenon of the board when they contract. In vertical
grained cuts, the annular rings run nearly perpendicular to the board's
face and thus shrinking is more uniform and cupping is minimized.
Not
surprisingly, the pleasing grain pattern and enhanced structural
qualities of vertical grained wood come at a premium, but because my
room's ceiling will be doubling as my finished flooring surface above
(sparing me the expense of installing a sub-floor and finished flooring
product for the loft space), I felt the added expense was justifiable.

Despite its intrinsic resistance to cupping, I quickly discovered that almost every decking board had some degree of imperfection that required some persuasion. Because the boards are quarter sawn (see red circles below), the vast majority of defects I encountered was crowning (also referred to as "crook").
 |
| The most common distortion of quarter sawn wood is crowning (or "crook") |
 |
| This technique (right or wrong) worked well for me...it allowed me to get a nice snug fit between boards |
To ensure a nice clean finish, I concealed all my fasteners in the tongue of each board. Doing so necessitated counter-sinking my fasteners. For the screws, this was pretty easy...just drive the head it beneath the surface of the tongue:
 | |||
| Counter sunk decking screws (note how the wiring for the track lighting is now concealed by the decking) |
As an aside, I have to geek out for a minute and discuss the screws I used. These bad boys are the Cadillac of decking screws...just look at the ridiculous tec packed into these suckers...who knew so much thought went into a screw?
 |
| Talk about screw tec! |
I used screws at both ends of each board and also on the beams with the twist. For the remaining attachment sites, I just used nails. Nail heads were counter sunk using a nail set.
 |
| Nail set used to counter sink nail heads |
With my powers of persuasion dialed in, it was now just a matter of installing one board at a time:


With all but the last 2 decking boards installed, the last step was to square up the cuts on each beam end and affix the last board. I called in reinforcements to help with squaring up the beam ends because I didn't trust myself. My friend Anthony was kind enough to do the dirty work for me....he has steady hands and unparalleled attention to detail:
 |
| Craftsman in action |
With the beam ends squared, the last board was affixed solely with glue (because there was no place to conceal fasteners). Once again, clamps were used to persuade the last board into position.
 | ||||
| Clamps applied vertically to ensure complete contact between the beams and the last board while glue dries |
 | ||
| Last board: Look Mom, no screws! |
 |
| Decking install complete! |


And one more parting shot...

Real purdy Jon! Great work coming together for man-cave use; including working on that truck!
ReplyDeleteThanks, phil! I appreciate you still following along...maybe I actually have a couple readers outside my immediate family! Hope you are doing well.
ReplyDelete